Graphical user interface
This section describes components of Met.3D’s interactive user interface.
Toolbar
The toolbar was introduced in Met.3D version 1.11. Hence note that older resources and screenshots are missing this UI component.
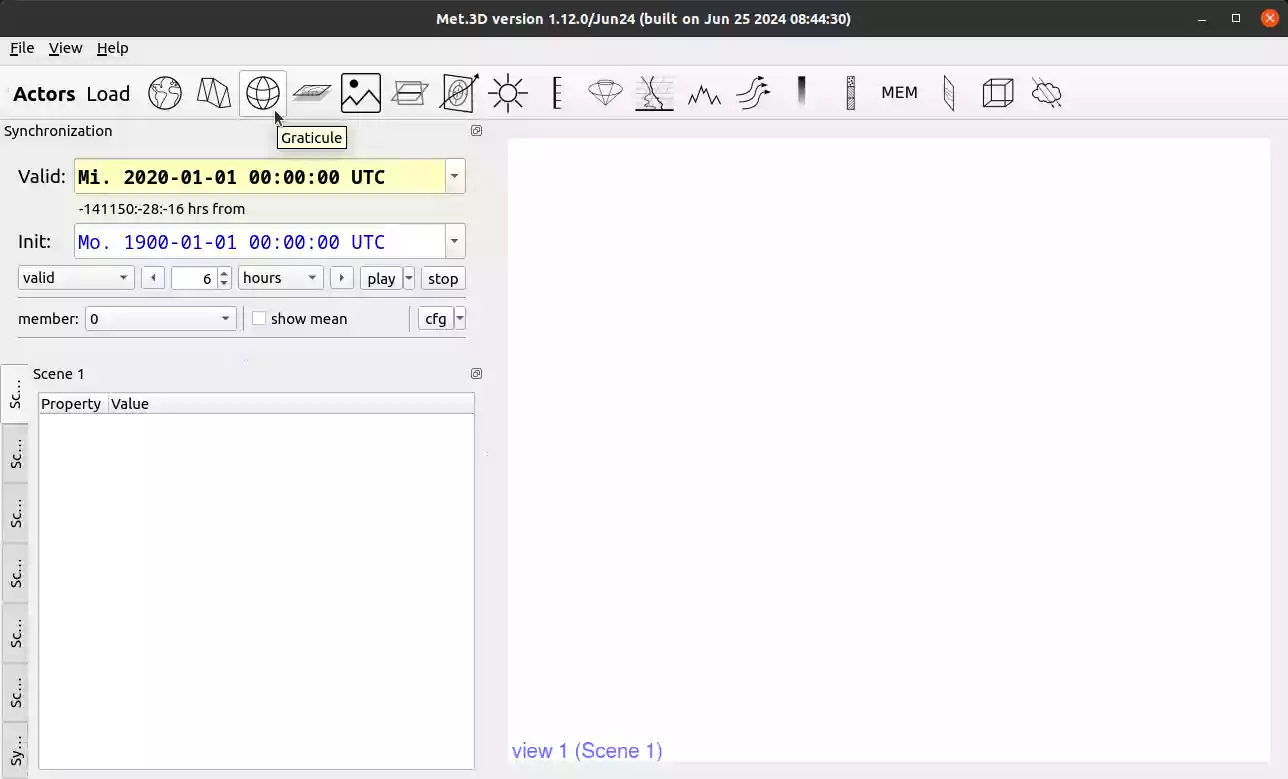
The toolbar contains one icon for each actor registered to Met.3D. It provides a straightforward way to add new actors to the scenes. By hovering over an actor icon, its name is displayed. By clicking on the icon, the actor is added to the scene currently in focus. It can be added to a different scene by simply dragging the icon onto the desired scene. Clicking or dragging an icon while holding the Alt-modifier opens an additional window where the user can rename the actor and select the scenes the actor should be added to. This window also appears if an actor to be added requires a different name. The “Load” button can be used to load an actor configuration from file.
Time control
Met3D provides controls to navigate through time. It allows you to step through a single time dimension. By default, all variables are synchronized, this can be disabled in the actor properties. Restrict to allows you to select time dimensions of datasets that this time control is restricted to. To navigate in time or ensemble use the GUI elements accordingly.
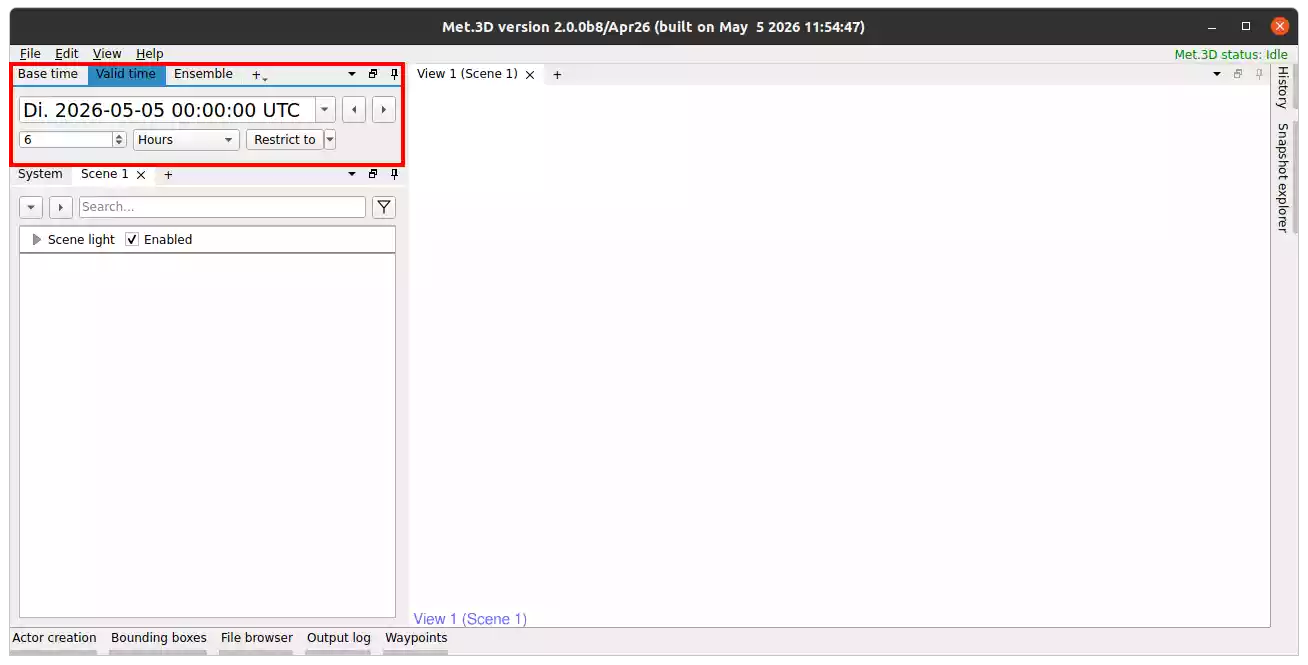
Fig. 10 The valid time control highlighted by a red box.
Actors provide properties to synchronize with time controls. These also allow an offset of to the synchronized time to be specified. Most actors have two of these properties for each actor variable. One synchronizes the base time, one the valid time.
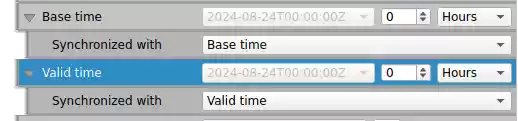
Fig. 11 An example of two time synchronization properties.
Ensemble control
Similar to time controls, ensemble controls synchronize ensemble members across actors. In addition to individual members, the ensemble mean can also be synchronized.
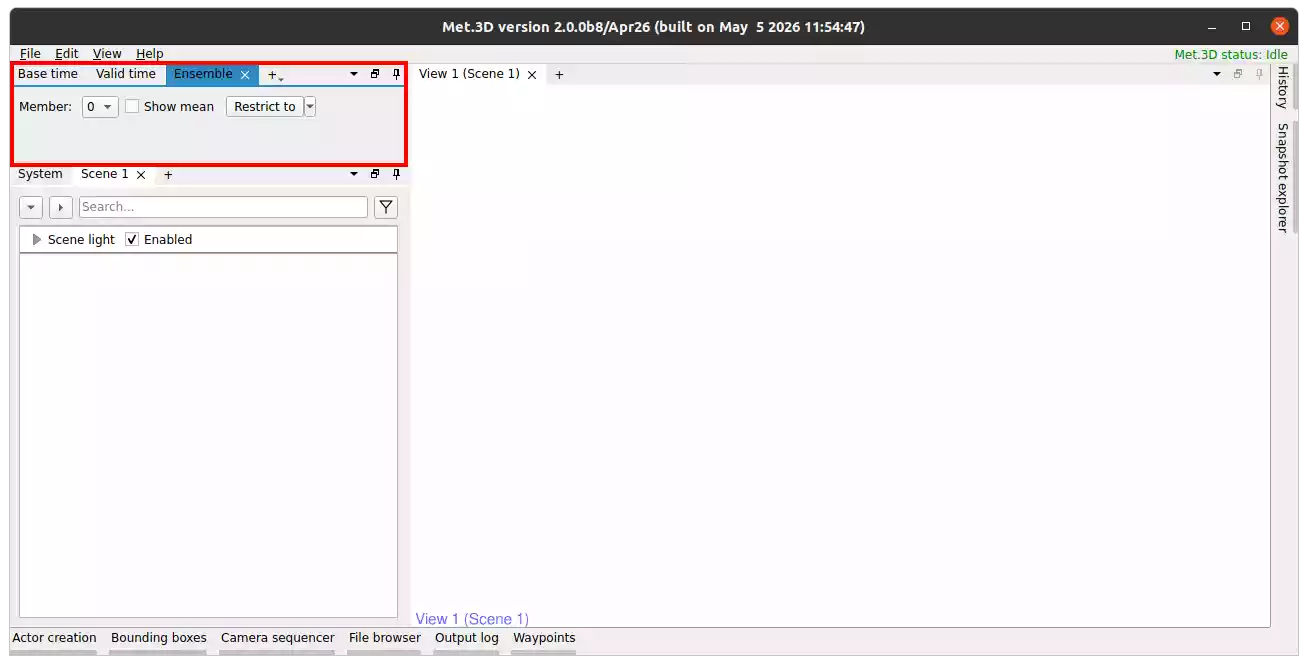
Fig. 12 The ensemble control highlighted by a red box.
Actors provide properties to synchronize ensemble members. Only selected members are used for synchronization with the ensemble control, all others are ignored.
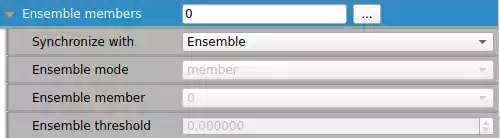
Fig. 13 An example of an ensemble property.
If a property is not synchronized to any ensemble control, additional settings become available.
Waypoints
Met.3D provides the creation of waypoints.
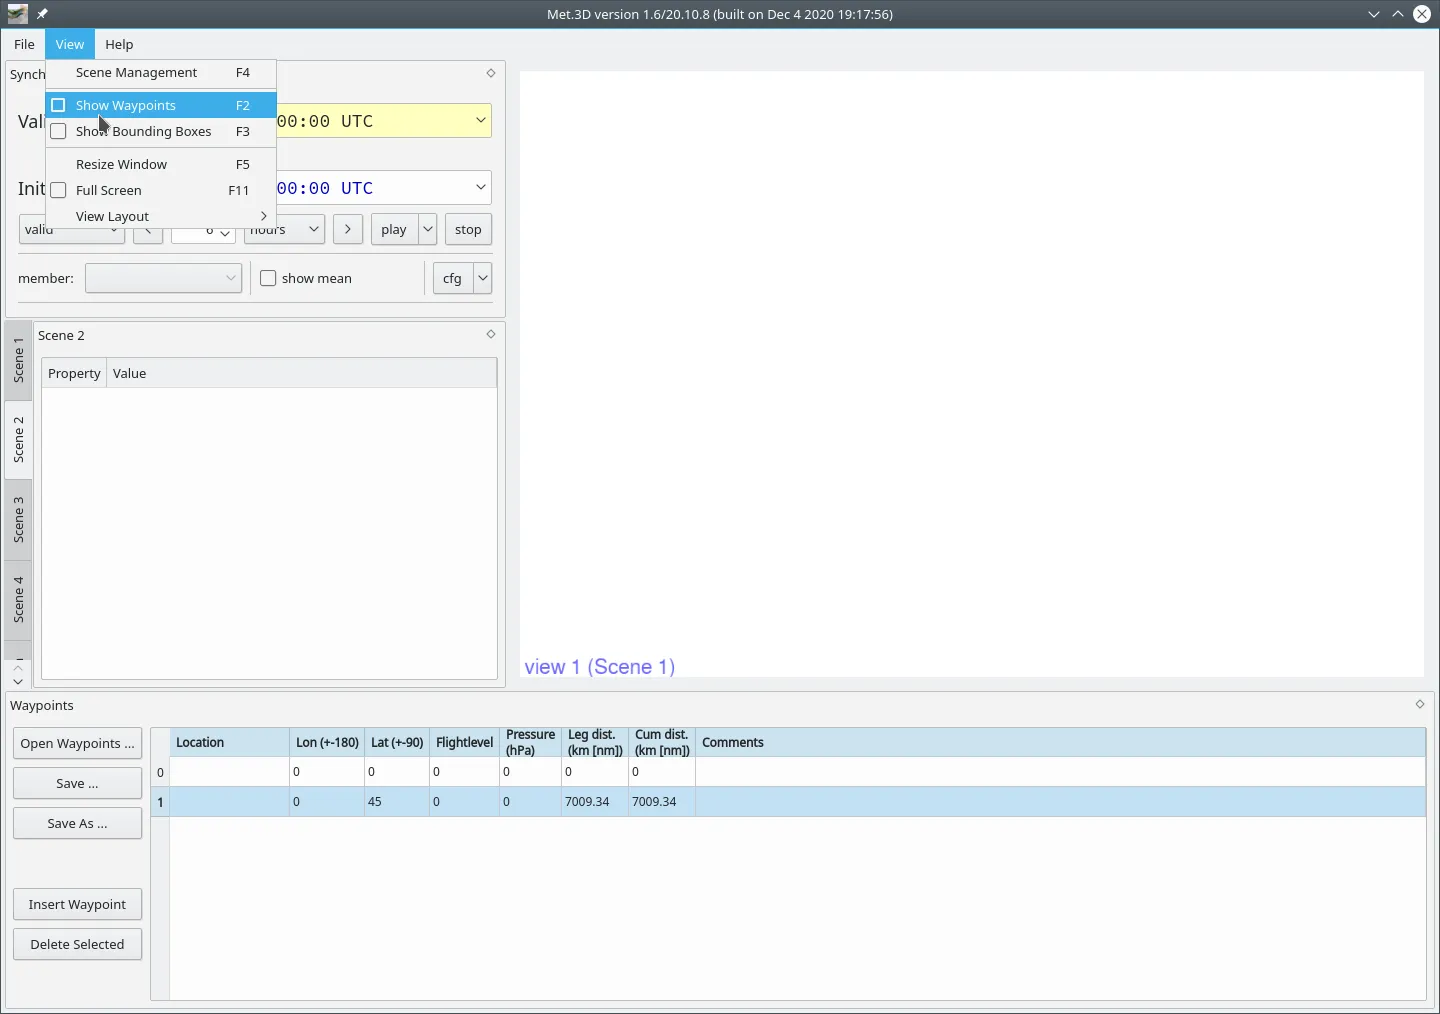
This can be done using the Show waypoints menu,
which in turn attaches the waypoint management options to the application window as shown below.
Also, this can be accessed by using the short cut key F2.
Bounding boxes
It is possible to define various bounding boxes.
They can be used to control the data region that needs to be displayed in the view port.
This can be done by pressing the Show bounding boxes menu, also with short cut key F3.
This attaches the bounding box handling options to the bottom of the application window as shown below.
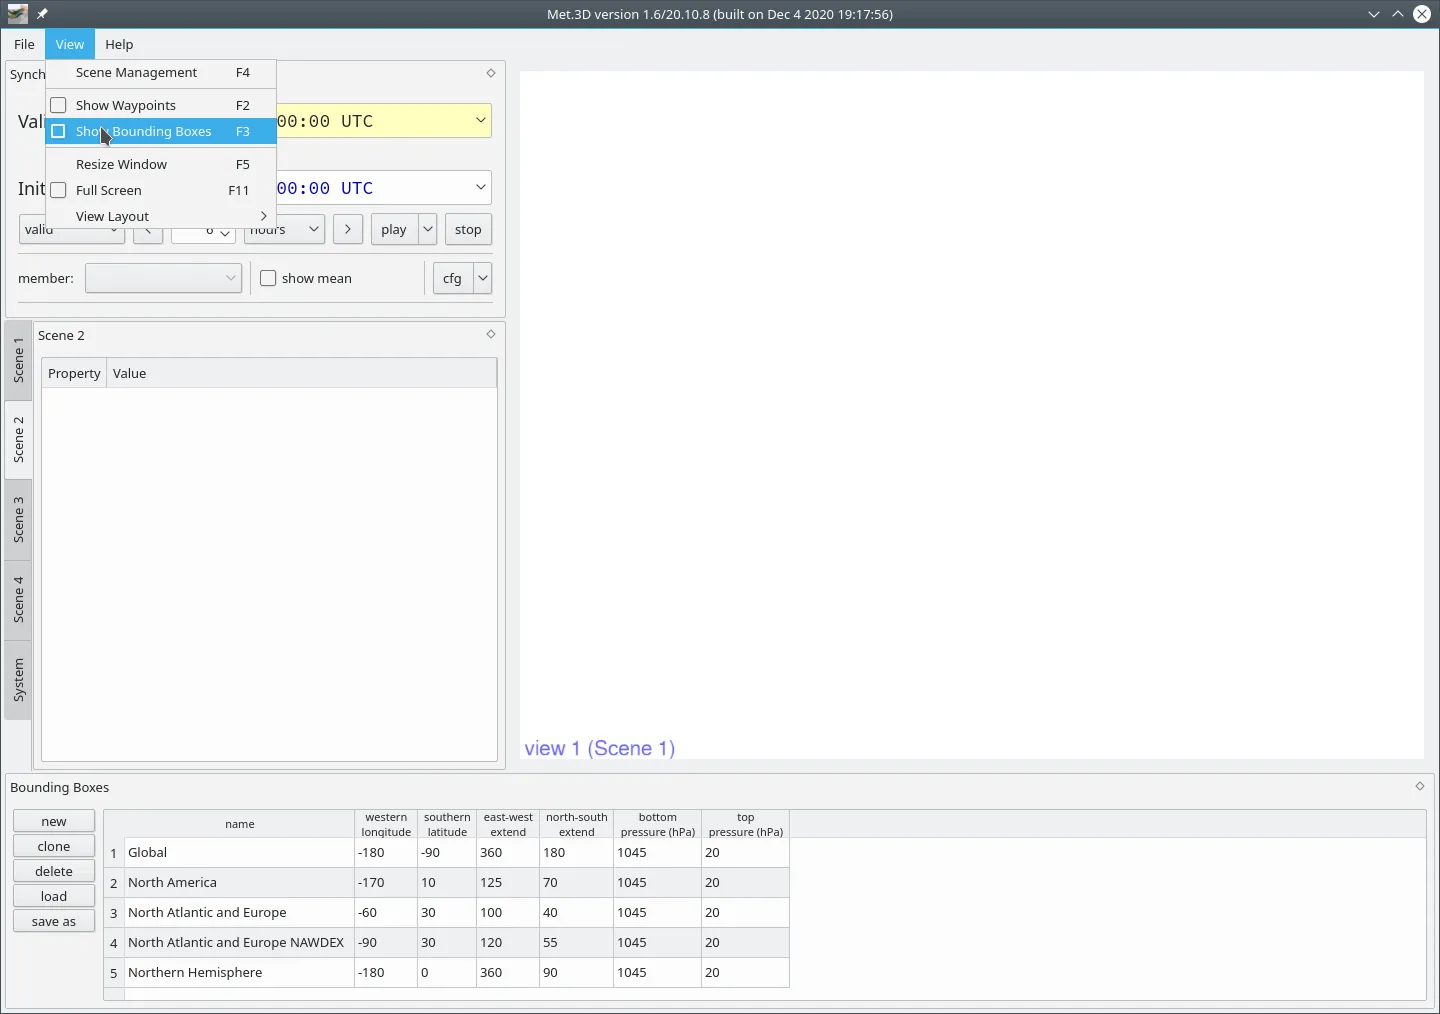
The user can define the latitude, longitude bounds of a bounding box. They can edit the pre-defined bounding boxes or create new ones. Existing bounding boxes can also be copied, deleted or saved to a file.
Session Management
Met.3D allows saving and restoring the state of the application through session files. There are two formats:
.session.config: A lightweight, human-readable INI file that stores actor properties and global settings..zip: An archive that stores the session config together with any snapshots and their screenshots. This format is recommended for archiving or sharing work.
The following options are available in the File menu for managing sessions:
New Session: Clears the application state and starts a fresh session.
Open Session: Opens an existing .session.config or .zip file via file dialog. When opening a .zip that contains snapshots, a dialog lets you choose which snapshot to restore, or load the last saved application state directly.
Recent Sessions: Provides quick access to recently opened sessions.
Save Session: Saves the current session, overwriting the existing file if applicable.
Save Session As…: Prompts for a file name and format. When saving as .zip, all current snapshots are embedded together with the session config.
Snapshots
Snapshots capture the complete state of the application at a point in time. Each snapshot stores:
A serialized copy of the session configuration.
A thumbnail screenshot of the application window.
Per-view screenshots.
Metadata: name, optional description, author name (defaults to the system user name), Met.3D version, OS platform, and creation timestamp.
Snapshots are part of a session. A single session can contain many snapshots. They form a tree: each snapshot records which snapshot it was taken from (its parent), so the history of a session can be navigated.
Snapshots are useful for capturing key workflow states, comparing different visualisation configurations, and building shareable session archives.
Creating and managing snapshots
Use File → Take Snapshot to capture the current state. A dialog opens where you can set the name, an optional description, and the author. After confirming, you can optionally switch directly to the new snapshot.
To update an existing snapshot with the current application state, select it in the Snapshot Explorer and use the Update button or the context menu.
The Snapshot Explorer is docked on the right-hand side of the main window.
It can be shown or hidden with F8 (default, configurable in the user settings),
or via View → Snapshot explorer.
It lists all snapshots belonging to the active session and shows two views simultaneously:
An icon view with thumbnail previews.
A tree view that groups snapshots into two categories:
Jumpable: snapshots whose session is cached in memory and can be restored without reloading from disk and requiring computation.
Non-jumpable: snapshots loaded from a file that require a full session reload on activation.
Selecting a snapshot shows its metadata and screenshots in the preview pane, including a dropdown to switch between per-view screenshots. The explorer also shows navigation buttons to jump to the parent snapshot or to a selected child snapshot.
Double-clicking a snapshot restores it. The context menu provides options to rename, overwrite, or delete a snapshot.
User configuration
Todo
Fill this page.